Car care advice from a Car Restorer
Professionals who use our products have given us some advice. We’d like to share that with you to help make you successful in your own car detailing.


The order for detailing steps is important.
At the very beginning it can be helpful to pre-wash and dry the car body remembering about door sills and recesses (all painted areas). This will make the next steps easier and will prevent you from getting dirty while cleaning the car interior. Don’t forget to empty the ashtray (if needed) and door side pockets.
Professionals who use our products have given us some advice. We’d like to share that with you to help make you successful in your own car detailing.
Let’s startwith the interior
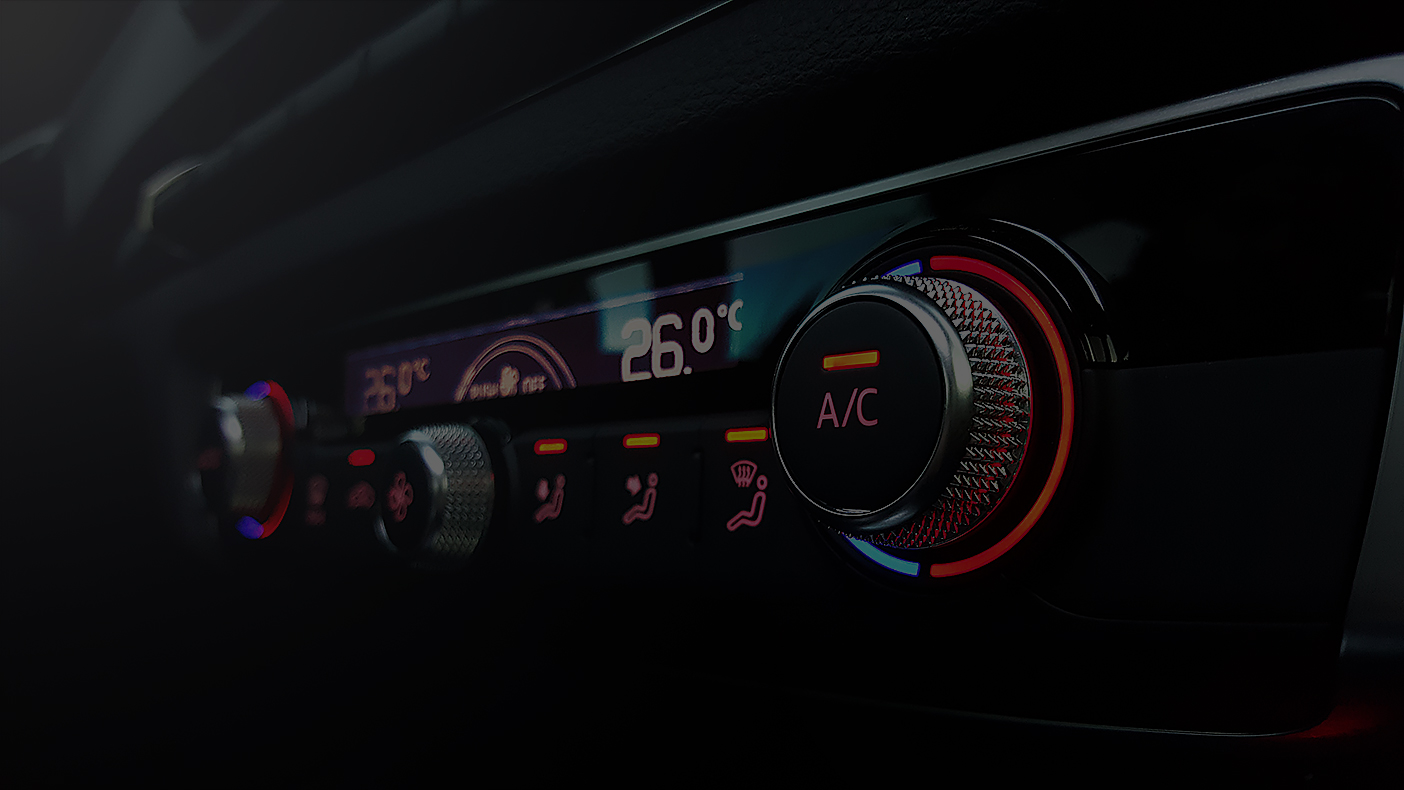
If your car air conditioning vents have an unpleasant or musty smell, you can clean these also.
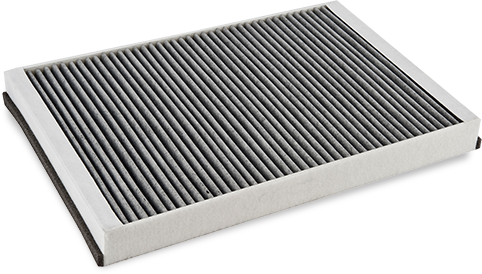
Bad smells can be caused by several things, some of which are: clogged air conditioning drains, a clogged air cabin filter, bacteria and mold.
Air cabin filters can get clogged up with dust, leaves and other debris. To make sure you breathe fresh air, we recommend replacing it regularly. Also follow your car manufacturer’s instructions to eliminate any possible leaves and other debris under the cowl panel which may also cause unpleasant smells.
The next step is to clean the air vents. You can leave this to a professional or do-it-yourself using one of our air conditioning cleaners. Choose the one that kills bacteria and mold and at the same time removes any unpleasant smells.
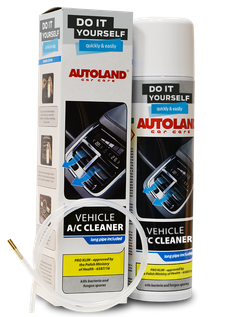
For cleaning all types of vehicle air conditioning and ventilation systems. Eliminates bacteria, fungus spores, mold and annoying cigarette and animal smells. Cleans easily in 10 minutes without any need of disassembly or tools. Spray for clearing and disinfecting vehicle air conditioning systems. Kills bacteria within 5 minutes and fungus spores within 15 minutes.
Find out more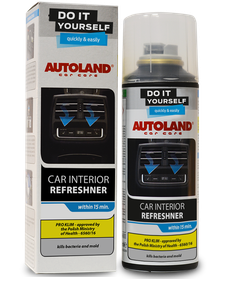
PRO KLIM MINI - Allows you to clean air conditioning system within 15 minutes, no tools needed. Removes unplesant smells including cigarette smoke, mold and animal odour. Spray for clearing and disinfecting vehicle air conditioning systems. Kills bacteria within 5 minutes and fungus spores within 15 minutes.
Find out moreBe careful not to damage knobs and vents. Take special care while vacuuming the leather.
Remember always to test a product on a small, non-visible area before using it.Spray the cleaner evenly on the fabric upholstery then rub energetically until the dirt is removed, later wipe thoroughly with a dry soft cloth. Repeat the procedure on all upholstered elements.
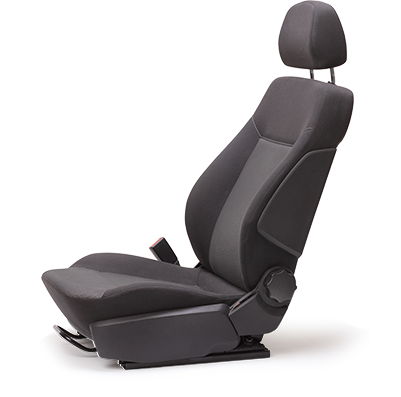
Leather upholstery can be very delicate, so it is best to use a product specially formulated for cleaning leather seats. Again, test the cleaner on a small non visible area to make sure there is no color change. After you are sure, spray the leather care product directly onto the surface of the leather to be cleaned or onto a soft, clean microfiber cloth rage. Wipe it gently onto the leather, reaching into crevices and around the edges. Leather care products can leave a slippery surface so it is not recommended using them on leather-wrapped steering wheels and gear change knobs. Clean those elements with a clean and barely moist microfibre towel.

Active oxygen upholstery cleaner, removes stubborn stains and dirt. Effortlessly cleans all types of fabric upholstery, roof-linings and carpets. Renovates and nourishes surfaces, restoring the appearance. Allergic friendly - eliminates fungi and mites. Contains a UV filter – protects against fading due to direct sunlight.
Find out more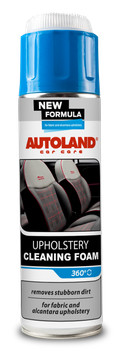
Cleaning foam for fabric and alcantara upholstery. Cleans and freshens up colours to all car interior textiles thoroughly and gently. Included brush helps to clean even stubborn stains, such as: chocolate, ice cream, cola, coffee and ketchup from: car seats, door trim panels, seat covers, roof lining, and carpets.
Find out more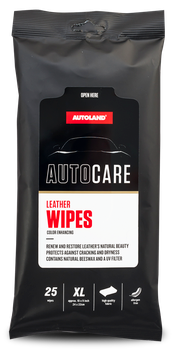
Restore the natural beauty of interior leather with our premium quality Leather Wipes. Specially formulated with natural beeswax, Leather Wipes condition and remove surface dirt, providing protection against spills and stains and recapturing leather’s soft and supple feel.
Find out more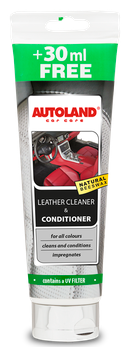
Renew and restore the natural beauty of leather with this unique lanolin and bees wax formula. Deep cleans and conditions car seats and interior furnishings, providing protection against spills and stains and recapturing leather’s soft and supple feel.
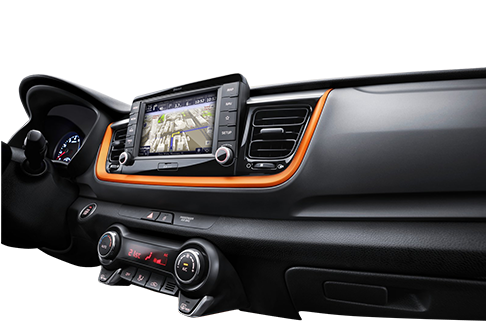
Find out moreApply a dedicated product on the dashboard, center console and other plastic parts.
A dedicated product not only makes the dashboard look clean and matt or shiny, it also contains UV filters, protects the plastic, and prevents the further build-up of dust. Stubborn dust and food particles in areas with difficult access can be removed by using a soft brush or compressed air.
Apply a dedicated product on the dashboard, center console and other plastic parts. Use cockpit wipes or spray some amount of dedicated product on a soft, clean cloth. Buff gently. There are several types of products available, each leaves a different finish from matt to super shine. Choose the one which suits you the best. A dedicated product not only makes the dashboard look clean and matt or shiny, it also contains UV filters helping to protect the plastic, and prevent the further build-up of dust.
Make sure you do not use plastic or glass cleaners on gauges, LCD screens etc!
Use only dedicated products designed for these plastics.
Stubborn dust and food particles in areas with difficult access can be removed by using a soft brush or compressed air.
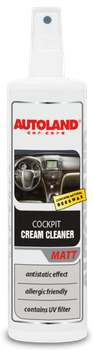
Cream Dashboard Cleaner contains carnauba and natural bees wax to clean, condition and protect, leaving your dash with a soft, “like new” matte finish.
Find out more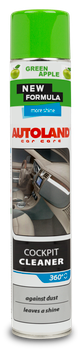
Cleans and protects all types of car cockpits. Contains Carnauba and natural bees wax. Removes all dirt from the car interior plastic elements. Protects against further dirt. Renews surfaces, leaves a nice long-lasting aroma. Protects against dust / antistatic. Contains UV filter / protect against fading.
Find out more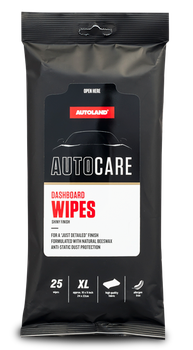
These high quality, advanced conditioning Dashboard Wipes contain natural beeswax to help give your dash that “just detailed” look. Easily remove dust and debris without damage to plastic, rubber, vinyl or other delicate surfaces to restore your dashboard’s original appearance.
Find out more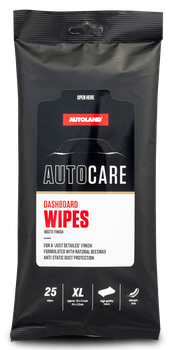
These high quality, advanced conditioning Dashboard Wipes contain natural beeswax to help give your dash that “just detailed” look. Easily remove dust and debris without damage to plastic, rubber, vinyl or other delicate surfaces to restore your dashboard’s original appearance.
Find out more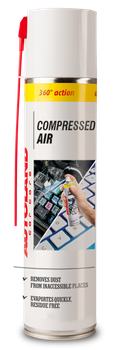
Removes loose dirt and dust from inaccessible places. Contains no oils, evaporates quickly with no residue. Can be used for cleaning and maintaining automotive and household electronic parts, modules and computer devices.
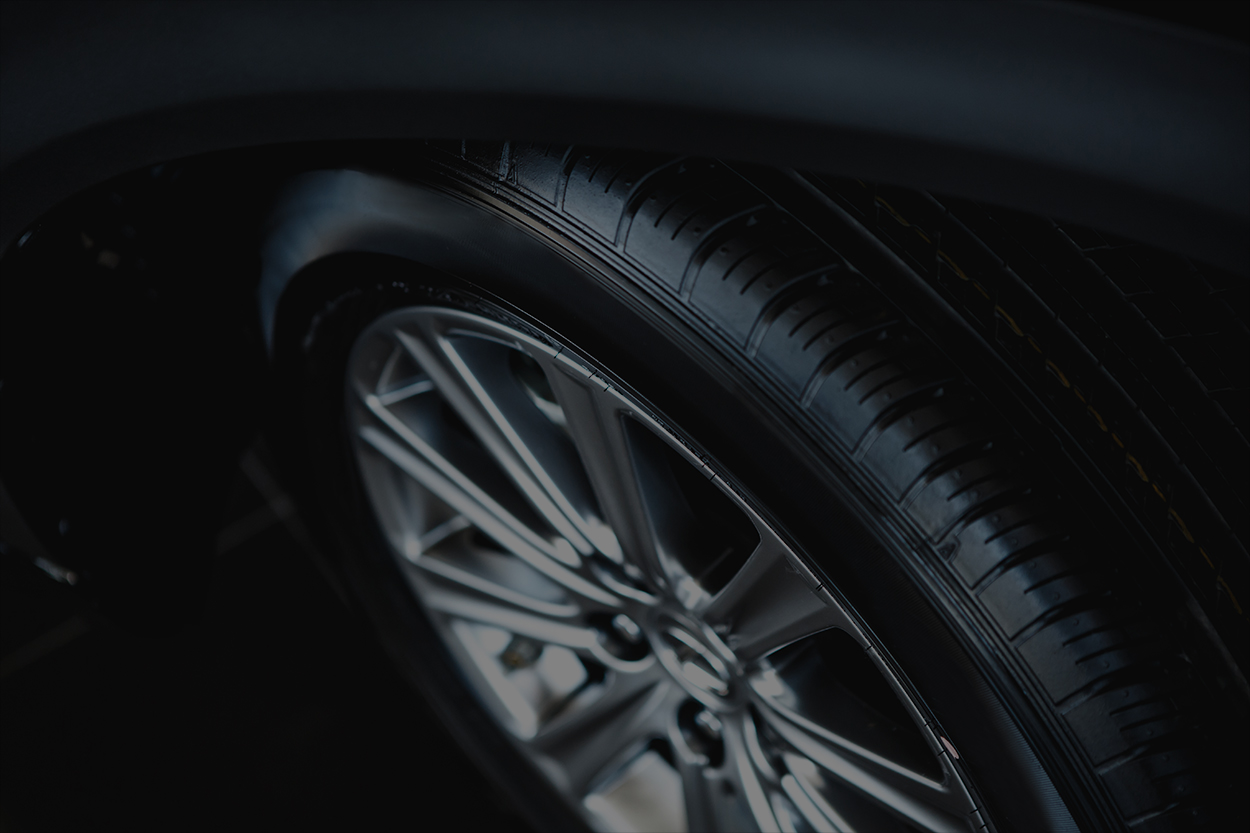
Find out moreClean the wheels before you start with the body and paint.
Use acid-free formulas to remove road dirt, strip residue (when new) from tires, and clean stubborn brake dust off wheels.
Acid-based cleaners can damage tire rubber, cause unpainted alloys to oxidize and pit, and damage painted or clear coated wheels.

Wash your tires with car shampoo and then let dry. Next, use dedicated tire car care products on the sidewall to give your tires a rich, deep “wet look”, and protect the rubber from adverse weather conditions and fading due to direct sunlight.
WARNING – DO NOT use any of these types of products on a tire treads.
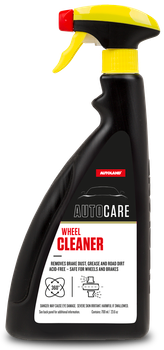
Acid-free - safe for all elements of brake system: cables, brake shoes, brake discs and pads. Does not react and or damage painted and unpainted, chrome, metal and aluminum wheels. Does not cause discoloration, streaks and stains on automotive paints and plastic parts of the car body.
Find out more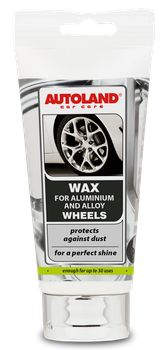
High quality synthetic wax protects and preserves painted, chromed and aluminium alloy wheels and delivers maximum shine with no streaks or smudges. Creates a protective layer that guards against harsh weather conditions and repels dirt, grime, dust from brake pads and water spots.
Find out more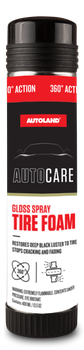
Step up to BLAG Plus Tire Renovating Foam to restore that deep black luster and brilliant wet look. Regular application provides a long-lasting shine and prevents premature cracking, while a UV filter prevents fading caused by direct sunlight.
Find out more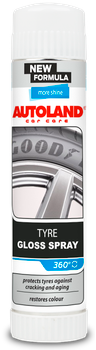
Tyre gloss spray, leaves a long lasting, deep shine and "wet look". Protects tyres against premature aging, cracking and adverse weather conditions. Leaving a deep black and shiny appearance. Suitable for all types of tyres.
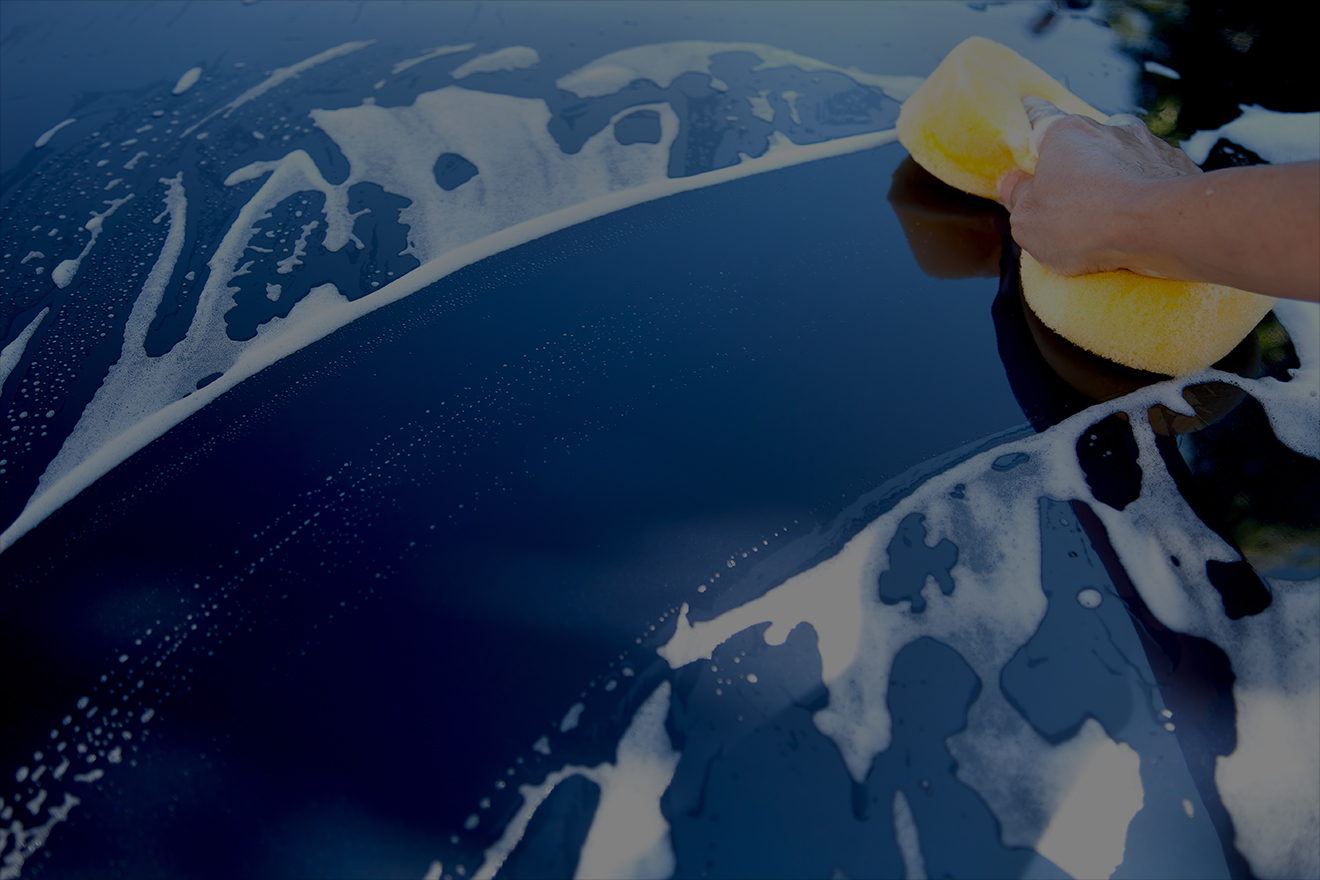
Find out moreAfter washing, rinse the car with plenty of water to completely remove any leftover shampoo. Now you can dry with a soft microfiber rag or a squeegee.
First of all, the hand car wash gives you a chance to inspect the car's surfaces. Use car shampoo, it is especially formulated to maintain car paint.
Cleaning with dishwashing detergent may clean your car but also strip off any protective wax coatings, leaving paint vulnerable and unprotected.
Stubborn dirt, bird droppings left on the paint can go through wax and clear coatings into the color coat underneath. To get your paint completely and thoroughly clean, you may need to do more than just a wash. Before moving on to waxing, we advise checking the paint surface carefully with a dry hand. If it feels rough, it is not ready for waxing yet.
Try using paint cleaners to remove all unwanted old waxes and other environmental chemicals that have stuck to the paint. Paint can also be cleaned another way – by paint cleaning clay. It removes bonded contamination through the mechanical action of rubbing a clay bar against the vehicle surface.

For car bodies, roof racks, soft-top roofs. Removes even old and hardened contaminations like: birds dropping, insect remains, etc. Wax content restores gloss and colour of a car body. Eco-friendly – biodegradable.
Find out more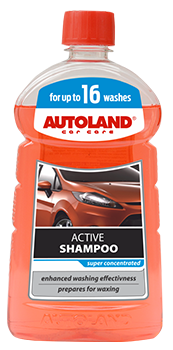
Highly concentrated. For car bodies, roof racks, soft-top roofs and motorcycles.Removes even old and hardened contaminations like: birds dropping, insect remains, sap etc. Highly useful for removing old layers of wax or polish.
Find out more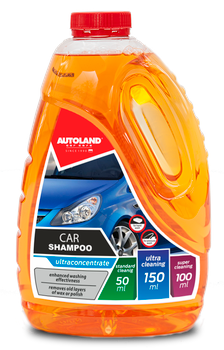
Ultra concentrated car shampoo formulated for cleaning the whole car body including car windows and parts made of plastic and rubber. Perfectly removes old waxes, polish and paste residue.
Find out more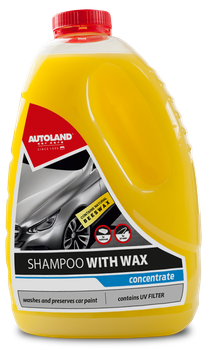
Car shampoo with natural beeswax for cleaning whole car body. Removes even old and hardened contaminations like: birds dropping, insect remains etc. Enhanced washing effectiveness, removing all grime.
Find out more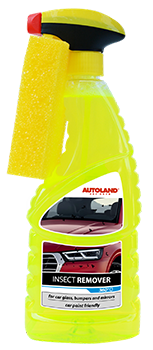
Effective cleaner that works quickly against insect, oil, silicone and exhaust deposits. Contains active detergents that soften even stubborn grime. Smudge free.
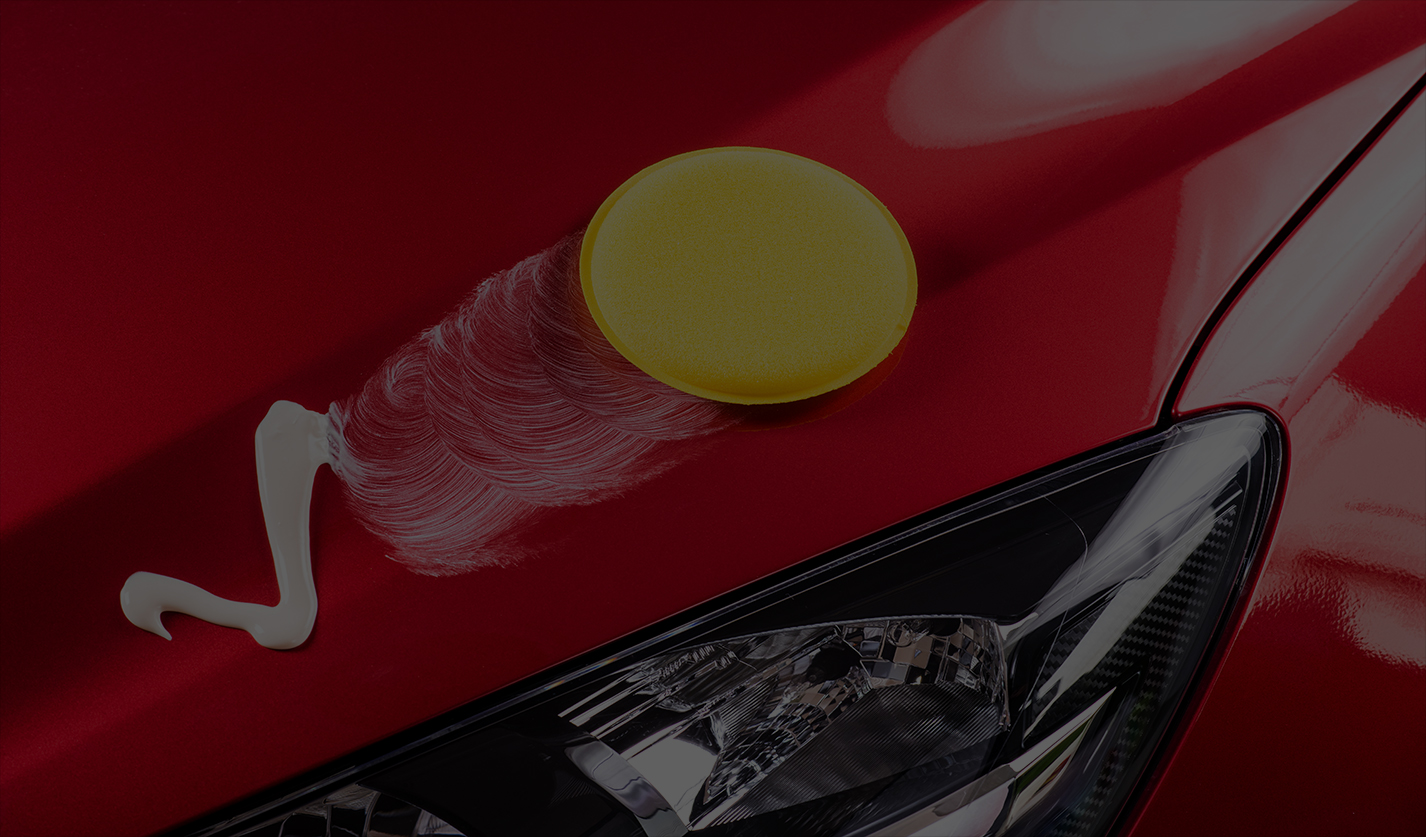
Find out moreIf your car paint has a scratch that goes down to bare metal, the only way is to go to the garage and have it fixed by professionals with the necessary experience.
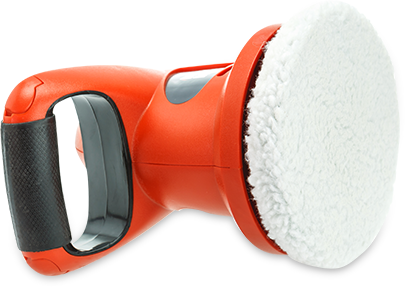
Polishing smoothes paint. The smoother the paint the better the shine. There are two ways to polish your car – by hand or using an oscillating or rotating polishing machine. Using an rotating polishing machine gives the best results but also requires more experience.
For DIYers oscillating polishing machine could be more suitable. Polish can also contain wax to protect paint but wax alone will not smooth any paint. After polishing your efforts, you will be rewarded with deep reflections in your car paint.
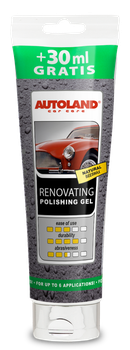
Formulated with natural bees wax and special paint regenerators, Renovating Polishing Gel restores aged and damaged car finishes to a showroom shine. Gentle abrasives cover and hide small scratches while the special bees wax formula deepens your car’s color and restores its finish to a crystal clear shine.
Find out more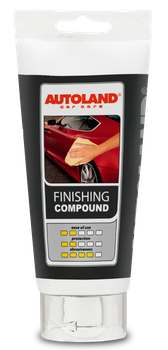
Professional-grade rubbing compound restores a “like new” shine to aged and dull paint. Smoothes out scuffs and scratches; removes stains, rust, abrasions and damage caused by bird droppings, insects and tree resin.
Find out moreEvery day your car is attacked by harmful pollution. Bird droppings, acid rain, abrasive elements and many others can have a negative impact your car’s paint. Good wax can protect against them, it absorbs stains and small scratches before they contact the paint.
A car should be thoroughly rewaxed every 2-3 months, depending on weather and driving conditions.
Car waxes can be natural (Carnauba), synthetic or a variation of both and come in various forms. Choose one depending on your personal application preferences either liquid, paste or hard.
A car should be thourghly rewaxed every 2-3 months, depending on weather and driving conditions.
You can use liquid wax between general cleaning and protecting to touch up any picked up stains and scratches. However, it is not a substitute for full cleaning, polishing and protection given by a hard wax. It hard to know if the previous wax has already disappeared.
Even making a test with spilling water and checking for beading will not give 100% certainty. Therefore we recommend sticking to a car waxing schedule.
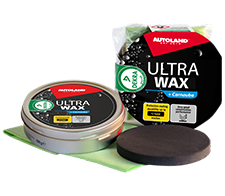
Classic high quality hard wax provides long-lasting protection and a durable, crystal clear shine to your car’s exterior withput streaking or smudging. The natural carnauba-enriched premium formula protects your car’s finish against harsh weather conditions including rain, salt, snow and dust.
Find out more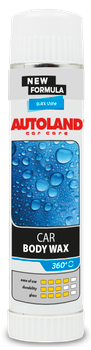
Highly efficient sprayable wax for all types and colours, both metallic and traditional car paint. Contains natural Carnauba and bees wax, giving an effortless, stable and glossy finish. Protects paintwork against the effects of adverse weather conditions. Reduces adhesion of dust and dirt with a fast and easy application.
Find out more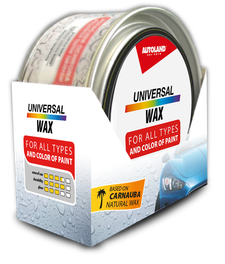
Easy-to-use hard wax for polishing and preservation of all types of metallic and standard car body paint. Based on Carnauba natural wax. Creates a barrier which separates water and dirt particles from varnish.
Find out more
Fast acting wax for glossing and conditioning of all types of new and nearly new paintwork, standard and metalic. Gives a streak-free high gloss, colours are visibly intensified.
Find out more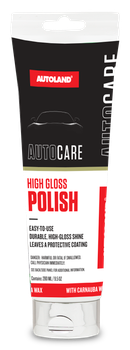
Easy to use High Gloss Polishing gel contains real carnauba wax to give your car a deep, beautiful shine. Use after washing to polish and protect your car’s exterior, including side trim, mirror housings and bumpers, for a perfect finish every time – without streaking or smudging.
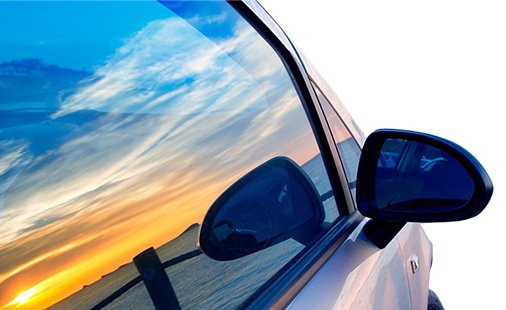
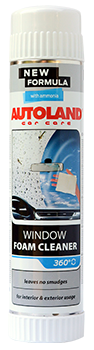
Find out moreThe above steps for cleaning and waxing a car leave residues on car glass. This is why we clean it last.
Again, we recommend not using household glass cleaning products. First, they often do not have a pleasant smell, and more importantly, they can have a negative influence on car upholstery and dashboards.
Use products dedicated for car cleaning use. Removing the dirt using a microfiber cloth gives the best results leaving your car glass streak and smudge free. Remember to clean side windows twice, when half open to reach the top edges and fully closed to remove any possible dirt and moisture left from the seals.
You can enhance your visibility and safety while driving in the rain by using our “Invisible Wiper” on the windscreen. Be sure you degrease it very well before applying. Using the “Invisible Wiper” also protects your car’s rear and side windows from water stain etching.
Powerful foam cleaner for vehicle windscreens, headlights and mirrors. Effectively cleans insects residue, silicone, oil and exhaust deposits.Easily removes fingerprints, nicotine residue and greasy film. Xenon light friendly.
Find out more
Powerful cleaner for vehicle windscreens, headlights and mirrors. Easily removes all stubborn grime, nicotine residue and greasy film. Effectively cleans insect residue, silicone, oil and exhaust deposits.
Find out more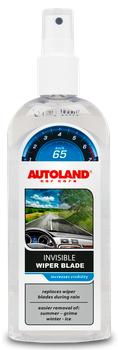
Innovative formula creates an invisible coating on the windshield that reduces the need to use windshield wipers, so driving in the rain is safer. At speeds above 40 mph water simply “sheets” off the windshield, so you get a crystal clear view with minimal streaking—without using wipers.
Find out more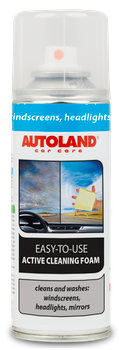
Highly concentrated active, easy-to-use foam for cleaning and washing windscreens, headlights and mirrors of all kinds of vehicles. Effectively cleans and removes oil and nicotine residues, tree sap, silicone, stubborn grime and greasy surfaces.
Find out more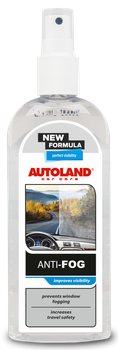
Anti-Fog forms an invisible protective film to stop interior window fogging—even in the most humid weather conditions. It’s specially formulated to give you long-lasting, crystal-clear visibility for safer driving, day and night.
Find out more